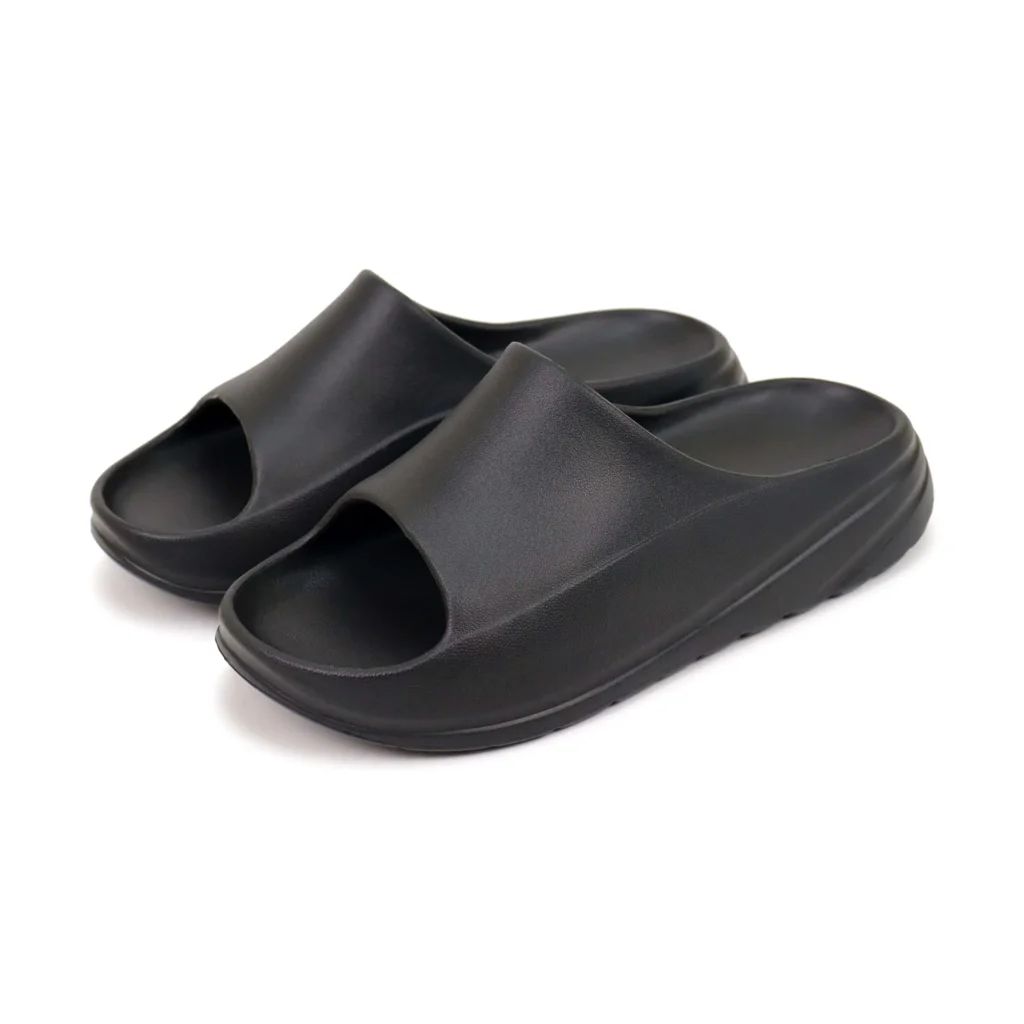
Slippers are everyday essentials in homes, hotels, spas, and workplaces, yet constant wear traps sweat, dead skin cells, and warmth inside enclosed materials that were never designed to breathe freely. For retailers, hospitality groups, and distributors managing large volumes of footwear, a single smelly batch can trigger customer complaints, product returns, and reputational damage that outweighs the original unit cost. The odor problem is not a sign of poor manufacturing; it is a predictable outcome of how feet, moisture, and enclosed footwear interact. Understanding the root cause is the first step toward both removing existing smells and choosing odor-resistant wholesale slippers that stay fresher for longer across bulk inventories.
To get odor out of slippers, remove the moisture and bacteria causing the smell by drying them thoroughly, then treat the footbed with baking soda, white vinegar, activated charcoal, or direct sunlight, and machine-wash washable styles in cold water on a gentle cycle before air-drying them completely.
The sections below break down why slippers smell, the most effective deodorizing methods for each material, and how bulk buyers can prevent odor at the sourcing stage.
Why Do Slippers Develop Odor?
Slippers smell when sweat, skin cells, and warmth combine inside an enclosed shoe to create the ideal environment for bacteria and fungi to multiply, breaking down organic matter into the volatile gases we perceive as foot odor.
Footwear odor is rarely caused by sweat itself. Sweat is mostly water and salt, both odorless. The smell appears when naturally occurring skin bacteria—particularly Staphylococcus and Bacillus species—feed on the proteins and lipids in perspiration and shed skin, producing by-products such as isovaleric acid. According to guidance from the U.S. Centers for Disease Control and Prevention on personal hygiene, managing moisture and regular cleaning are the most effective ways to limit microbial growth on skin and fabrics. The same principle applies to slippers: anything that keeps the footbed damp extends the window in which bacteria can multiply.
The Role of Moisture and Warmth
A foot has roughly 250,000 sweat glands and can produce up to a half pint of moisture per day. Inside a slipper—especially one lined with fleece, terry cloth, or memory foam—that moisture has nowhere to go. The trapped warmth and humidity replicate the conditions of an incubator, accelerating bacterial reproduction. The longer a slipper stays damp between wears, the stronger the odor becomes.
Materials That Trap Odor
Not all slippers smell at the same rate. The construction material determines how much moisture is absorbed and how easily the slipper can be cleaned:
- Fleece, terry, and fabric linings absorb sweat like a sponge and hold it against the skin, making them the most odor-prone.
- Memory foam footbeds soak up moisture into their open-cell structure, where it is difficult to extract.
- Leather and suede absorb some moisture but can crack if over-washed, requiring dry deodorizing methods.
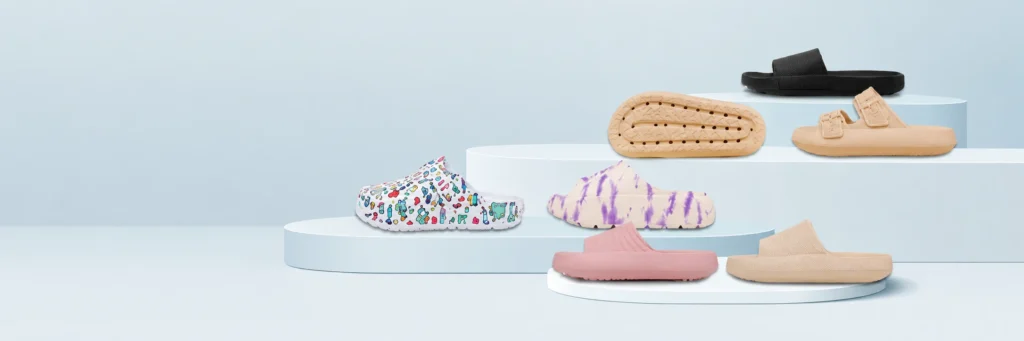
- Closed-cell EVA and PVC absorb almost no water, so bacteria sit on the surface where they can be wiped away easily.
This is why a reputable slippers manufacturer will recommend different care routines for different constructions, and why material selection at the sourcing stage has such a large impact on long-term freshness.
How to Get Odor Out of Slippers: Proven Methods
The fastest way to remove odor from slippers is to eliminate moisture and neutralize the bacteria producing it, using absorbent deodorizers like baking soda, natural disinfectants like white vinegar, UV sunlight, activated charcoal, and, for washable styles, a gentle machine cycle followed by thorough air-drying.
Each method below targets a different link in the odor chain—moisture, bacteria, or the trapped gases themselves. In practice, combining two methods (for example, a vinegar spray followed by a baking soda overnight treatment) delivers faster and longer-lasting results than any single approach.
Baking Soda Treatment
Baking soda (sodium bicarbonate) is a mild alkali that absorbs both moisture and acidic odor molecules. For slippers, sprinkle a generous tablespoon directly onto the dry footbed, work it lightly into the lining with a soft brush, and leave it overnight. In the morning, tap out the powder and vacuum any residue. This method is safe for nearly every material, including leather and suede, because it requires no liquid.
White Vinegar Soak and Spray
White vinegar contains acetic acid, which lowers surface pH enough to kill many common bacteria. Mix equal parts white vinegar and water in a spray bottle, lightly mist the interior of the slipper (do not soak), and let it air-dry in a ventilated spot. The vinegar smell dissipates as it dries, taking the foot odor with it. This works particularly well on EVA and PVC styles, which will not absorb the liquid.
Sunlight and Fresh Air
Ultraviolet light is a natural disinfectant. Placing slippers in direct sunlight for two to three hours kills surface bacteria and evaporates trapped moisture. The U.S. Environmental Protection Agency notes that sunlight and drying are effective, low-chemical strategies for reducing microbial loads on surfaces. Avoid leaving EVA or PVC styles in intense heat for too long, however, as prolonged high temperatures can warp closed-cell foams.
Activated Charcoal and Zeolite
Activated charcoal and natural zeolite are highly porous materials that adsorb odor molecules from the air. Place a small pouch of activated charcoal inside each slipper and leave it for 24 to 48 hours. Unlike baking soda, charcoal does not leave powder residue, making it ideal for repeated use in hospitality settings where slippers must look clean as well as smell clean.
Machine Washing for Washable Styles
Cotton terry, fabric, and some synthetic slippers can be machine-washed to remove both odor and ground-in soil. Use cold water on a gentle cycle with a mild detergent, and place the slippers in a mesh laundry bag to protect their shape. Never machine-wash leather, suede, memory foam, or glued constructions, and always air-dry rather than using a tumble dryer, which can melt adhesives and deform soles. For a full step-by-step routine, follow the dedicated wash slippers care guide, which covers water temperature, detergent choice, and safe drying.
| Method | Best For | Time Required | Liquid Used |
|---|---|---|---|
| Baking soda | All materials, overnight | 8–12 hours | None |
| White vinegar spray | EVA, PVC, fabric | 2–4 hours | Light mist |
| Sunlight and air | All materials | 2–3 hours | None |
| Activated charcoal | Hospitality, repeat use | 24–48 hours | None |
| Machine wash | Cotton, terry, synthetics | 1–2 hours + drying | Full wash |
Odor Removal for Different Slipper Materials
Different slipper materials require different odor treatments: waterproof EVA and PVC can be wiped and soaked, fuzzy fleece needs gentle brushing and baking soda, leather needs dry deodorizers only, and memory foam requires careful surface cleaning to avoid saturating the foam.
Applying the wrong method to a material can cause permanent damage—leather cracks when soaked, memory foam mildews when it cannot dry, and EVA can warp under high heat. The guidance below matches each common construction to the safest, most effective deodorizing routine.
EVA and PVC Slippers
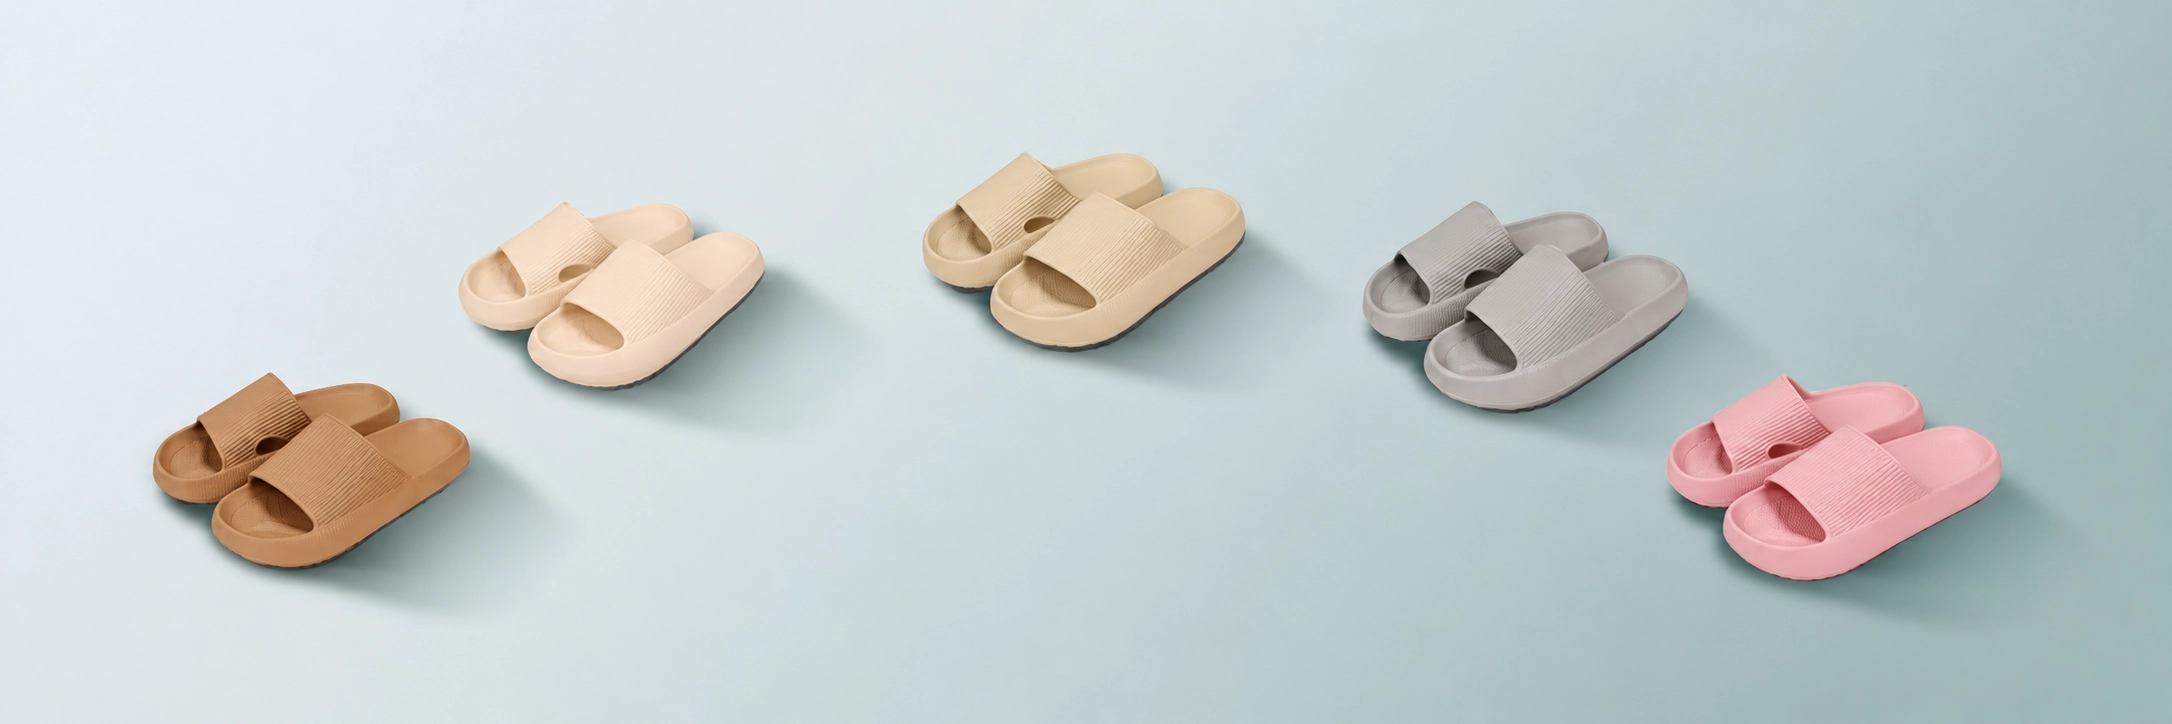
Closed-cell EVA foam and PVC are inherently waterproof, so they do not absorb sweat. Odor-causing bacteria sit on the surface and can be removed with a wipe of diluted vinegar or mild soapy water, followed by air-drying. Because they dry in minutes and never trap moisture inside, EVA slippers are among the most odor-resistant options available, which is why they dominate hotel, spa, and poolside programs where repeated wear and humidity are unavoidable.
Fleece and Fuzzy Slippers
Fleece-lined and fuzzy slippers are supremely comfortable but the most prone to odor because the plush fibers hold moisture against the skin. Brush the lining first to remove dead skin and dust, then apply baking soda overnight and vacuum it out. For deeper cleaning, hand-wash in cool water with a small amount of gentle detergent, squeeze out excess water without wringing, and reshape before air-drying. Never use hot water, which can mat the fibers and set odors.
Leather and Suede Slippers
Leather and suede absorb some moisture but are easily damaged by liquid. Use only dry methods: baking soda, activated charcoal, and sunlight. For stubborn smells, place the slippers in a sealed bag with a bowl of baking soda for 48 hours. Condition the leather afterward to prevent it from drying out. Avoid vinegar sprays on suede, which can leave watermarks.
Memory Foam and Fabric Slippers
Memory foam footbeds feel luxurious but act like sponges. Once liquid penetrates the foam, it is extremely hard to extract and can lead to mildew. Surface-clean only: blot the footbed with a barely damp cloth dipped in diluted vinegar, then apply baking soda to pull residual moisture out. Allow at least 24 hours of drying time. If the foam has become saturated, replacement is usually more hygienic than repeated cleaning.
How to Prevent Slippers from Smelling
Preventing slipper odor is far easier than removing it: wear socks or rotate pairs, let slippers air dry completely between uses, choose breathable or waterproof materials, and store them in ventilated spaces away from humidity.
For B2B buyers, prevention is also more cost-effective than remediation. A few simple habits—and smarter material choices at the sourcing stage—can keep a bulk inventory smelling neutral for its entire service life. The dedicated keep slippers from smelling guide covers additional prevention tactics in depth.
Daily Habits That Reduce Odor
- Rotate pairs. Never wear the same slipper two days in a row; give each pair at least 24 hours to dry.
- Wear socks. A thin cotton sock absorbs sweat before it reaches the footbed.
- Air them out. After each wear, place slippers in a well-ventilated spot, not a closed closet or shoe box.
- Use moisture absorbers. Silica gel or bamboo charcoal pouches left inside overnight pull residual dampness out of the lining.
- Keep feet clean and dry. Drying thoroughly between the toes before slipping on footwear removes the moisture bacteria need to thrive.
Choosing Odor-Resistant Materials
The single most effective prevention strategy is selecting the right material at the sourcing stage. Closed-cell EVA foam, waterproof PVC, and quick-drying synthetic mesh outperform absorbent fabrics and memory foam in every odor metric. Styles designed for wet environments—such as bathroom slippers with drainage channels and non-absorbent soles—stay fresh even in humid conditions that would ruin a fleece-lined alternative.
Best Slipper Materials for Odor Resistance
For B2B buyers concerned about long-term freshness, closed-cell EVA foam, waterproof PVC, and quick-drying synthetic blends offer the best odor resistance because they do not absorb sweat and are easy to sanitize between uses.
When the goal is to minimize odor-related complaints across a bulk order, material choice matters more than any cleaning routine. The table below compares the most common slipper materials on the criteria that influence long-term freshness.
| Material | Moisture Absorption | Ease of Cleaning | Odor Resistance | Best Use Case |
|---|---|---|---|---|
| Closed-cell EVA | Very low | Wipe or rinse | Excellent | Hotels, spas, pools |
| PVC | Very low | Wipe clean | Excellent | Budget hospitality |
| Cotton terry | High | Machine washable | Moderate | Disposable hotel pairs |
| Fleece and plush | Very high | Hand wash | Low | Cold-weather home use |
| Memory foam | High | Surface only | Low | Premium home comfort |
| Leather and suede | Moderate | Dry methods only | Moderate | Long-life indoor wear |
For hospitality and wellness programs, sourcing wholesale spa slippers made from waterproof EVA or quick-drying terry offers the best balance of comfort, hygiene, and repeat-use durability. These constructions can be sanitized between guests without breaking down, which directly lowers replacement frequency and cost per use.
When to Replace Odorous Slippers in Bulk Operations
In hospitality and bulk supply operations, slippers should be replaced when odor persists after cleaning, when the footbed loses its cushioning and shape, or when visible wear compromises hygiene—typically every few months for disposable styles and considerably longer for durable EVA clogs.
Cleaning extends a slipper’s life, but it cannot reverse structural breakdown. Once a memory foam footbed has compressed, or a fleece lining has matted flat, the material holds moisture more aggressively and odors return faster after each treatment. For procurement teams, setting a clear replacement cadence based on material type is more reliable than reacting to complaints. Working with a partner that offers custom slippers wholesale allows buyers to specify odor-resistant materials, consistent sizing, and branding up front, so replacement batches match the original quality standard without trial and error.
Keeping Your Slipper Inventory Fresh and Profitable
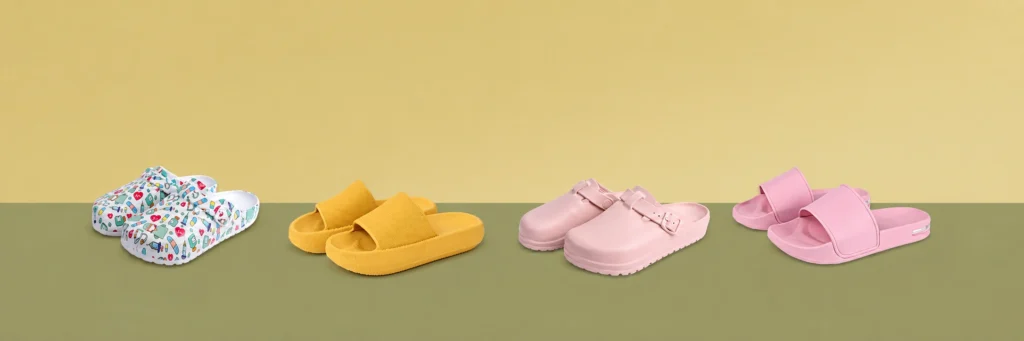
Odor in slippers is a moisture and bacteria problem, not a quality defect, which means it can be managed with the right combination of cleaning methods, daily habits, and material selection. Baking soda, vinegar, sunlight, and activated charcoal each neutralize smell through a different mechanism, while machine washing handles fabric styles that absorb soil. Matching the method to the material is what prevents damage—dry deodorizers for leather, surface wiping for EVA, and gentle hand-washing for fleece. For B2B buyers, the largest long-term gains come from sourcing odor-resistant constructions such as closed-cell EVA and waterproof PVC, rotating inventory, and setting a clear replacement schedule. Treating odor control as a sourcing decision rather than only a cleaning task is what keeps wholesale footwear fresh, hygienic, and profitable across every reorder cycle.
FAQ
Does freezing slippers kill odor?
Freezing can slow bacterial growth but does not reliably kill the bacteria responsible for foot odor, because many strains survive sub-zero temperatures in a dormant state. It may reduce smell temporarily, but the bacteria reactivate as soon as the slipper warms up and absorbs moisture again. Baking soda, vinegar, and sunlight are far more effective because they remove the moisture and organic matter bacteria feed on.
How often should slippers be deodorized in a commercial setting?
In hotels, spas, and shared-footwear environments, slippers should be treated after every guest and deep-cleaned at least once a week for reusable styles. Disposable terry pairs are typically replaced per guest, while durable EVA styles can be wiped with a vinegar solution between uses and air-dried. Establishing a documented cleaning interval helps staff maintain consistent hygiene standards.
Can I use perfume or fabric freshener to mask slipper odor?
Spraying perfume or fabric freshener only masks the smell temporarily and can mix with sweat to create a more unpleasant odor over time. Worse, the alcohol and oils in some fresheners can stain fleece and degrade EVA foam. The goal should always be to remove the bacteria and moisture causing the odor, not to cover it up with fragrance.